

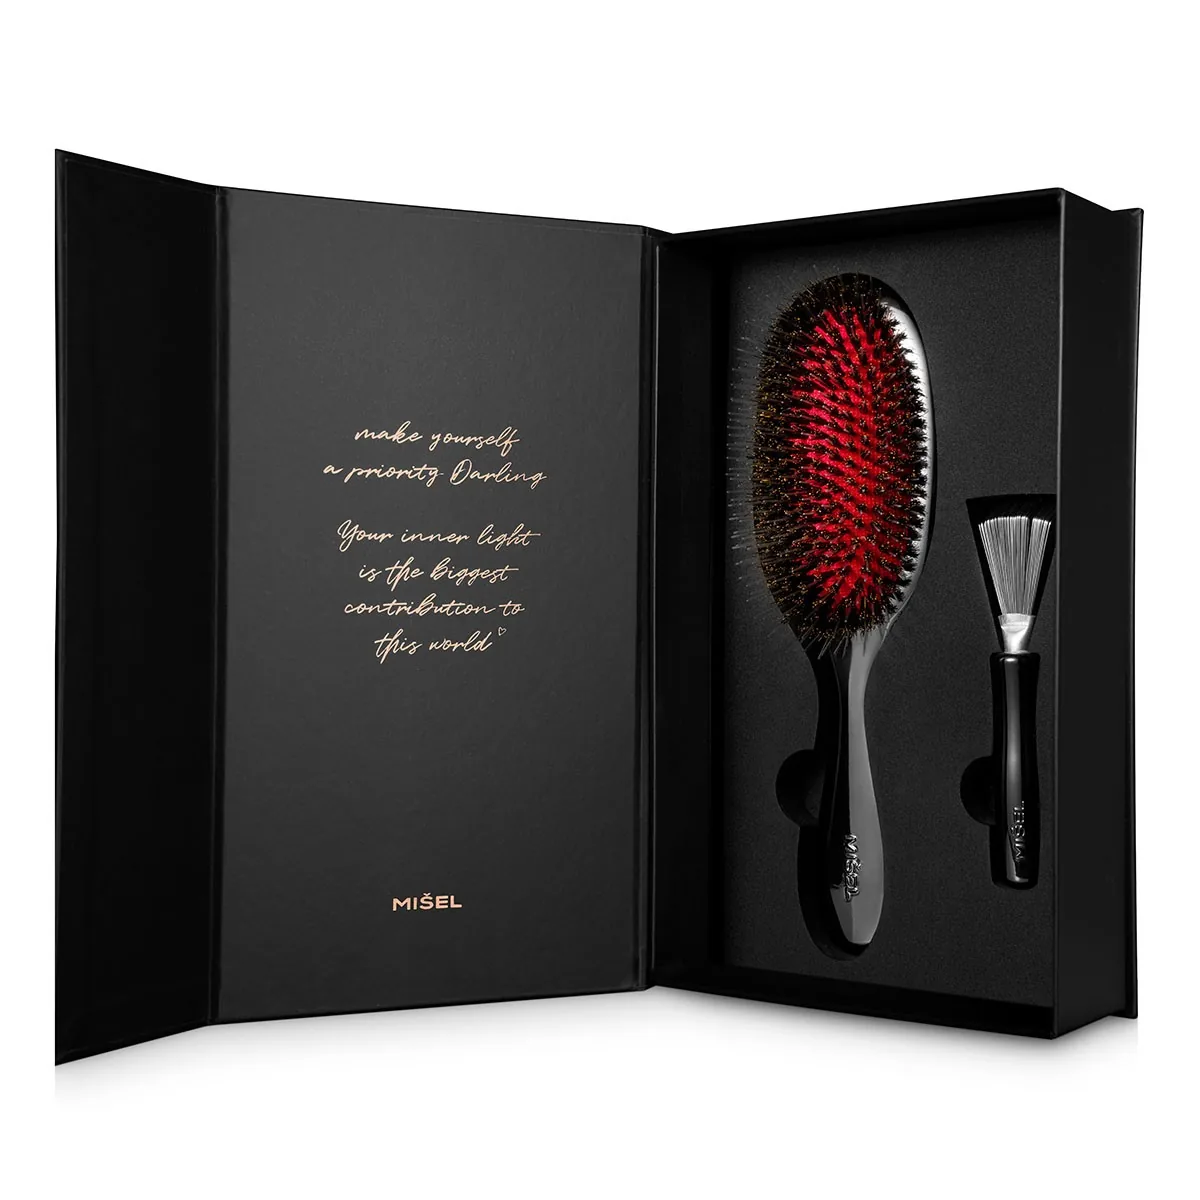
A good product photo starts before I press the shutter. When products arrive clean, complete and with a clear brief, the shoot goes quickly and you get photos that won't need fixing. Here is the process I send to clients before every job.
1. Send a list of products and variants
Before you pack anything, email me a simple list: product name, code (SKU or EAN, if you have one), colour variants and how many photos you need of each. It also helps to know where the photos will go: your own online shop, Alza, Allegro, Amazon or social media. Each platform wants slightly different dimensions, so I can prepare the right exports straight away.
For larger jobs, a spreadsheet helps, where I can tick off each row once it has been photographed. That way nothing gets lost or mixed up.
2. Pick the best-looking pieces
Every scratch, fingerprint and creased label shows in a photo. If you can, send new, unopened pieces, and for smaller products preferably two or three. I'll pick the best one and the rest will serve as a backup or for detail shots.
Tip: For boxed products, send an extra empty box as well. A photo of the product next to its packaging often comes in handy, and then a box crushed in transit doesn't matter.
3. Prepare the products, but don't clean them aggressively
- Remove price tags and stock labels unless they are part of the product. You know how to take them off your packaging without damage or leftover glue.
- Iron or steam textiles and pack them loosely, not folded into sharp creases.
- Leave glossy surfaces, glass and metal in their protective film. I'll remove it just before shooting so there are no fingerprints.
- Charge electronics if a display or indicator light should be on.
- Send cosmetics and food in their original packaging. If you want texture shots (cream on a finger, scattered cocoa), let me know and send one extra piece.
4. Pack everything so it survives shipping
Wrap each product separately, ideally in bubble wrap or paper, and fill the box so nothing moves. Wrap glass and ceramics twice. Put a printed list of the products in the box so I can check that everything has arrived as soon as I unpack it.
5. How to send the products
Send the products to me by courier. You'll get the address by email together with the order confirmation.
For more expensive goods, I recommend insuring the parcel. Once it arrives, I'll let you know everything is fine and photograph any transport damage straight away.
6. What happens after the shoot
I'll send you the finished photos as a download link, usually within 10 working days depending on the size of the job. I'll return the products in the same packaging they came in. We'll agree on the shipping method and cost in advance. If you don't want them back (samples or food, for example), just let me know beforehand.
Checklist before sending
- ☐ The list of products, variants and number of photos has been emailed
- ☐ I know where the photos will go (online shop, marketplace, social media)
- ☐ I'm sending the best-looking pieces, 2–3 of each small product
- ☐ Price tags are off, textiles ironed, protective films left on
- ☐ Each piece is wrapped separately and there is a printed list in the box
- ☐ The parcel is insured (for more expensive goods)
Planning a shoot? Write to me with what you need photographed, and I'll send you a quote and the exact process for your products.